Friday, June 15, 2012

Card Class - 8 "Fast & Easy" cards :)

CARD 1:      Used designer series paper on card stock, stamped images and used coordinating punch. Ribbon for that extra touch. Quick and simple.

CARD 2:     Stamped one single image on the entire (cut) white card stock with black STAZ ON. **But you can use one image stamping it several times.** The used a circle punch to punch out the white card stock, then used a slightly bigger circle punch to punch directly over what I already punched out, centering it. I then colored the image with markers (red & yellow) that was punched out from the first circle punch and discarded the second piece. I placed a basic black card stock behind white (stamped) card stock, then glued the colored, circled image directly to the black card stock, centering it. Used red ribbon. "Hello", was then stamped and punch out layering it on basic black card. Another quick and easy card.

CARD 3:      Used white (craft) ink to place a light, background image on my So Saffron card stock. Then used basic black to stamp my "stem" image. Paper layering and ribbon finished it off. The only long process here is, using a heat tool to speed drying time of white ink. (I used white craft ink, which takes way long to dry). Third quick and easy card :)
CARD 4:       I planned on using leaves and hemp to make a masculine card. I realized I no longer had the leaves in my possession so I improvised using flowers for this technique. So my plan was to use a SOLID LEAF image stamped in Versa Mark ink, the use white craft ink for the outlined image from the same stamp set in white craft ink, stamping it directly over the one in Versa Mark. (2 step stamping technique). I would then use hemp (but used navy ribbon) with paper layering.
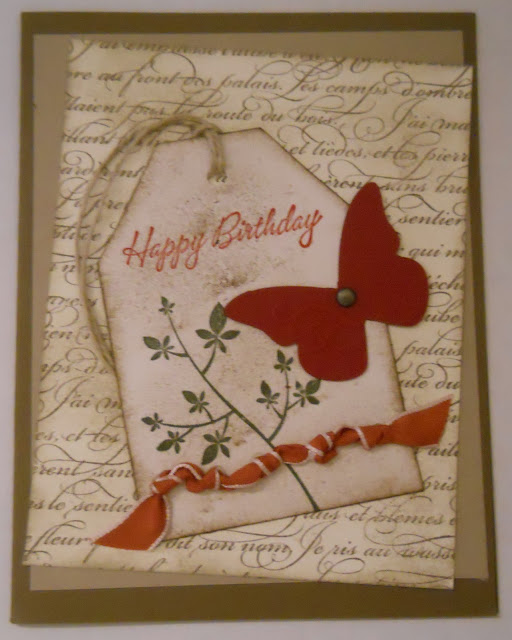
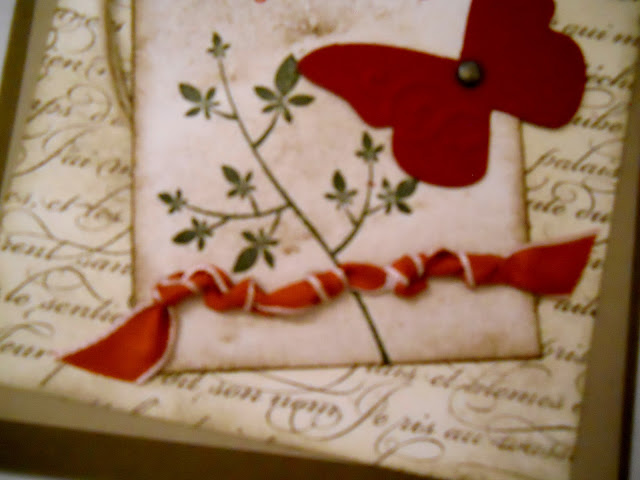


CARD 5:    Stamped a "script" image for a background, then sponged over it. Cut a piece of paper into a tag and stamped leaves and happy Birthday, then sponged over that too as well as the edges. I punched out a butterfly and used a brad to secure it to tag. punched a hole on top of tag and used hemp for "hanging" over tag and placing it behind tag. i then used ribbon, and tied a loose knot 5 times, trying to keep equal spacing between each knot. I was tired of the same old ribbon techniques. Tried something different. I used a small glue dot behind each knot to adhere it to tag. Pay attention to my paper layer as well. That was on purpose as well. ;)
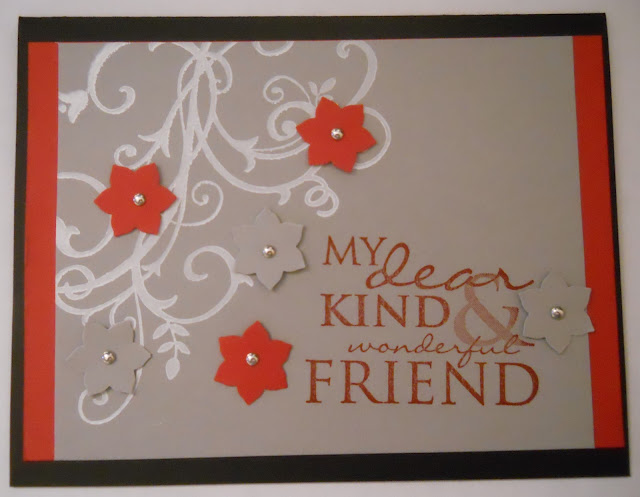


CARD 6:    Stamped my saying in red ink FIRST, then I stamped a "frilly" image in white craft ink, used a heat tool to speed drying. Used a flower punch to punch my flowers, a mini brad for the center on each and a glue dot to secure them to card stock. Pay attention to my gray and red card stock sizes. They are the same height. So fast and easy, I was on a roll!!


 CARD 7:   I am keeping with the theme of "Fast & Easy". Here it goes....

I stamped EVERYTHING in white craft ink. Used a heat tool to speed drying time. Then....... I used four different colored pencils. That's right, (crayola) colored pencils. I should have used SU, but I did not have any. This is great way to stamp in many colors when you don't have many colors. If you have kids, I 'm sure they have colored pencils!! Anyway, I used two shades of purple for the petals, darkest in center. Used two shades of green for stems and leaves, darkest toward bottoms of leaves and stems. Left a little bit of white ink at tips and that was it. Nor ribbon, no brads, no embellishments of any kind. Did some paper layering and I was done!! (Don't be afraid to color dark, if the pencil break, sharpen it, and smooth it out on a scrap paper). NOTE: to do this, you can use any image you like as long as it's a SOLID image.


CARD 8:       This was soooooo fast & easy!! Soooo excited to share with you today.

I cut vanilla paper for my paper layering over my pink base for my card. I then stamped one big image in white craft ink, used clear embossing powder and heat set it. I then sponged soft suede all over the entire vanilla card stock, yes even over my embossed image. I rubbed the ink off the embossed image, not really paying too much attention because this is so easy. I sponged and sponged until I reached to color I was looking for. Sponged the edges of vanilla card stock. Got some ribbon, tied a knot, layered to my pink card stock and I was done. This takes not time at all. Super, super fast.

I plan on taking my saying, lets say, "Happy Birthday", on vanilla card stock, stamp my saying, possibly in Sued ink, then LIGHTLY sponge it, punch it out, and use pop up glue dots to place it on the lower, right side of the front of my card. 


Hope you liked all of these. And I hope you take what you have at home and try these soon!! 


Thursday, June 14, 2012

Stamps for sale

Please see my FOR SALE page if you are interested in buying used stamps. They are in great condition. When you place an order, I'll throw something in for FREE (my choice).

Saturday, June 2, 2012

New Catalog

Now available to purchase, download, or place an order!!

VIEW HERE